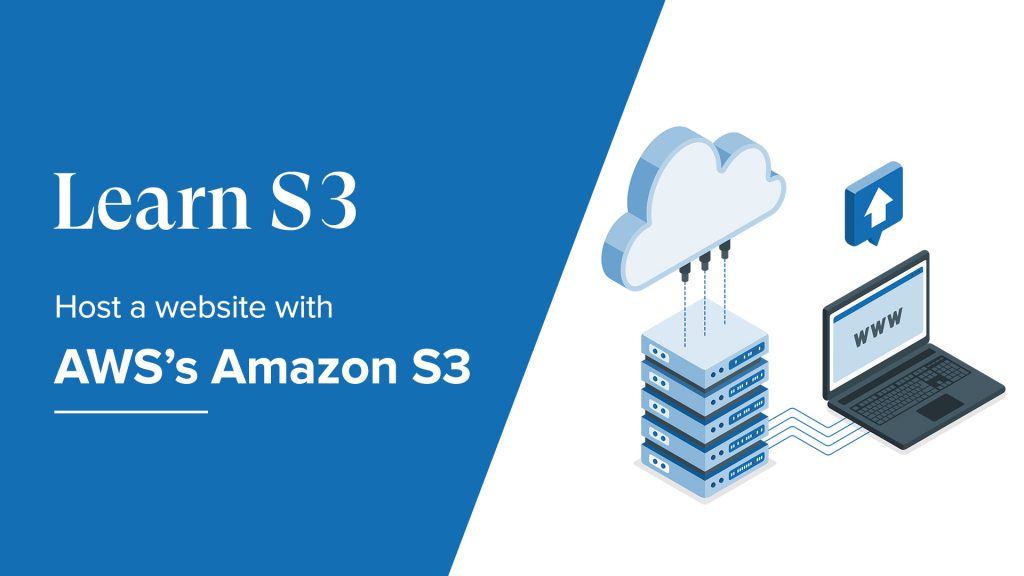
This post explores the AWS S3 bucket to configure a static website. In 5 easy steps, you are going to learn how to host a website with Amazon S3 via a practical example.
What is Amazon S3?
Amazon S3 (Simple Storage Service) provides object storage which is constructed for storing and recovering any amount of data or data from anywhere over the web.
S3 helps you in Storage Management, Access management and security, and straightforward data transfer. S3 helps you in building and maintaining your own repository without taking much of your time.
Reasons to Host Your Website on Aws S3
- Manages everything, so there’s no need for you to stress about underlying software a bit like the online server;
- Scales well for temporary high traffic load;
- No have to perform the capacity planning and to specify the initial capacity
- Simple to figure on, allowing you to line up your website during a blink of a watch.
This means customers of all industries can use it to store and protect any amount of data such as websites, mobile applications, backup and restore, archive, enterprise applications.
Creating and Hosting Static Website with AWS S3
Before we start, First you’ll need an AWS account. Once you’ve registered for your free tier account and logged into the AWS console, you wish to open the S3 storage console so you’ll start configuring the S3 storage service to host your static website.
Step 1: Create a bucket in Amazon S3.
Enter the Bucket name. Note that If your website domain is www.thisistestwebsite.com, then your bucket name must be www.thisistestwebsite.com. Click on Create Bucket and the Bucket should be created.


A Bucket is a container for objects stored on Amazon S3.
Step 2: Enable the Public Read permissions for the bucket.
As this can be a public website, you must select the suitable bucket policies and Enable public read permissions for the bucket. AWS doesn’t allow public access for s3 bucket, by default. we’d like to edit this behaviour for a static website. On the permissions tab, you see default behaviour – Block public access.
Remove the tick from the Block all public access. It also gives you a warning message as shown below, and you would like to acknowledge that you just operated intentionally.


Step 3: Enable Static Website Hosting Configuration for Your Bucket.
Turning on static website hosting for your bucket is just a few clicks away.
Let’s do it !
First you will need to enable the Static Website Hosting option for the S3 bucket so that the static content can be served when accessed over the web with the endpoint URL.

Also, this is how Public Read-Only access is given as shown below.

Step 4: Upload Your Static Website Code.
Drag and drop or select “Add files”, and add the entire static website directory and Click Upload.

Now, You need to input the name of your website’s file. Usually, it’s “index.html,” as is the case here. You can find this under the Properties tab of the bucket.

Remember your default index filename is configured as the index document for your bucket.
Step 5: Validate if it works.
If you’ve followed all the steps correctly, your website should display as intended once you enter the endpoint into the browser.

This is how you host a static website with AWS’s Amazon S3.
Thanks for reading!
