 International
 Finland
 Bangladesh
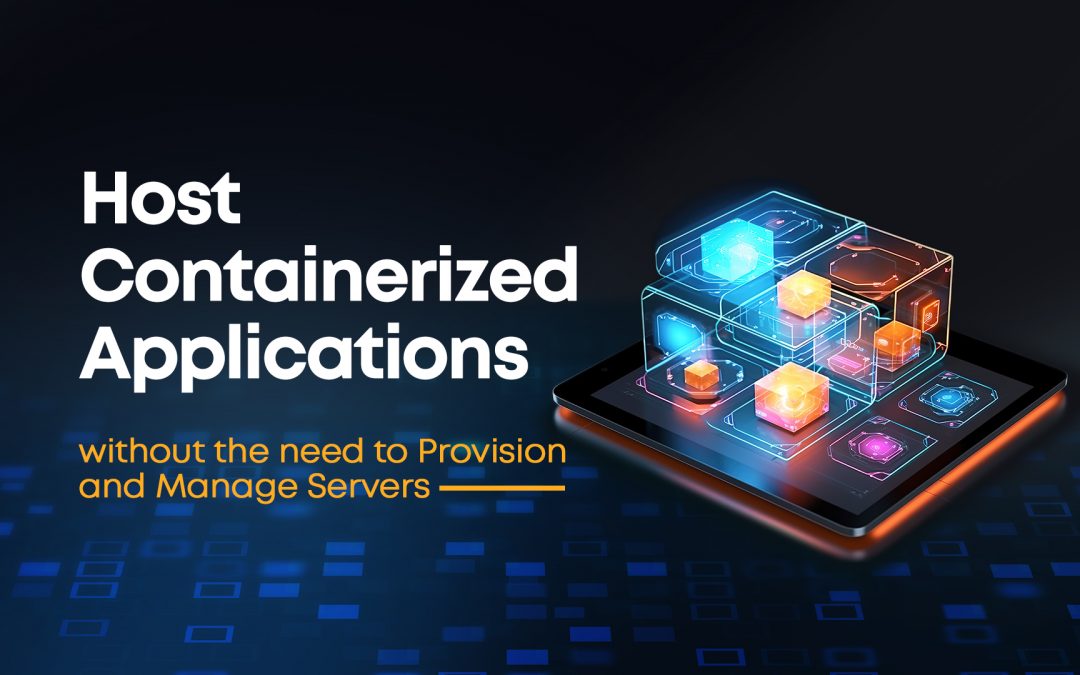
Containerized applications are software programs executed within self-contained units known as containers. These containers encapsulate all the necessary components for the application to operate seamlessly across various host operating systems, encompassing libraries, binaries, configuration files, and frameworks within a single, compact executable. The act of containerizing applications accelerates development processes, enhances efficiency, and bolsters security by disentangling functionalities from hardware dependencies and external software elements. Containers possess the capability to operate across diverse host operating systems while maintaining isolation from other software and hardware entities, thereby serving as adaptable instruments for creating applications deployable across different environments with ease.

In this blog post, we’ll demonstrate how to deploy an application using Elastic Container Service (ECS) with Fargate. We’ll cover the entire process, including setting up the Virtual Private Cloud (VPC), subnets, route tables, and ECS tasks. This walkthrough will illustrate the complete deployment of an application from the ground up. We will utilize the AWS Cloud 9 platform to build and push the docker image to the Elastic Container Registry (ECR).
1. First of all, we will start by creating an AWS Cloud 9 environment, for this please go to AWS Cloud 9’s console and click on “Create Environment”.
2. Give the Name to your environment and click on “Create”.

3. After the environment is created, click on “open”, this will open the Cloud 9 console in the new tab.
4. Create a Zip file of your project that contains the Docker file and upload it to the Cloud ( environment as shown below).

5. Now in the console below use the command “unzip container_test.zip” to unzip your.
6. After this, you will see your project director in the left pane as shown below:

7. Next, execute the following commands to install and start the docker.
sudo yum install -y docker
sudo service docker start
8. Now we will set some variables such as the region, repo_name (Name of your ECR repo), account, and full name (URI of your ECR repo).
region=$(aws configure get region)
region=${region:-us-east-1}
repo_name=”my_app”
account=$(aws sts get-caller-identity –query Account –output text)
fullname=”${account}.dkr.ecr.${region}.amazonaws.com/${repo_name}:latest”
9. After this, we will create the ECR repository, log into ECR, build the docker image, and push it to the repository.
aws ecr create-repository –repository-name “${repo_name}”
aws ecr get-login-password –region ${region} | docker login –username AWS –password-stdin ${fullname}
cd container_test/first_app/
docker build -t ${repo_name} .
docker tag ${repo_name} ${fullname}
docker push ${fullname}
10. Go ahead to the ECR console home page, there you will see a new repository with the docker image you pushed earlier.

11. Now we will move on to deploying this image to ECS, before moving to ECS first we have to configure our VPC.
12. Move to VPC and click on “Create VPC”. In the IPv4 CIDR enter any block of IP and create a VPC.

13. After the VPC is successfully created, we will create a security group for our VPC, in the inbound rules, enter the port range 8443 for type Custom TCP, leave everything else as default, and create.

14. Now we will create a subnet for our VPC, in VPC ID select the VPC we created earlier and in the IPv4 subnet CIDR block enter the same IP with /24 instead of /16.

15. We will also need an Internet gateway to communicate with ECR and other services so, move to Internet gateway, create a new IGW, and attach this igw to the VPC we created earlier.


16. Finally, we will create a route table to route the traffic from the subnet to IGW, go ahead and create a route table and attach it to the VPC earlier created.

Now that our networking configuration is done, we will move on to the deployment of our program.
17. Go to ECS in your console and on the left-hand side click on “task definition” and click on “Create task definition”. Give the family name and in Launch type select Fargate, in task size give the CPU as .5 vCPU and memory as 1 GB.

18. In the Container – 1 section fill in the details, in the Image URI section paste in the image URI of the image we uploaded in the ECR repo earlier. In the port mappings section give the Container port as 8443 and protocol as TCP, leave everything as default, and create a task.

19. To run this task we have to create an ECS cluster, for that in the left pane click on “Clusters” and create a cluster.

20. Now in the task created earlier, click on “Run task”. In the cluster select the cluster created earlier, in compute options select Launch type, in launch type select Fargate.

21. In the deployment configuration for Application type select “Task”.

22. In the Networking section, select the VPC, subnet, and security group we created earlier. Leave everything else as default and create the task.

23. After the task is in a running state, you will get a public IP address by clicking on the open address.

24. Since we set our container port as 8443, go to the IP address:8443 where you will see your app.

25. Replicating these same steps you can deploy a second app.
In conclusion, containerized applications offer a powerful solution for deploying software without the burden of managing servers directly. By encapsulating all dependencies within lightweight containers, developers can streamline development processes, improve efficiency, and enhance security by decoupling application functionality from underlying hardware and software dependencies.
